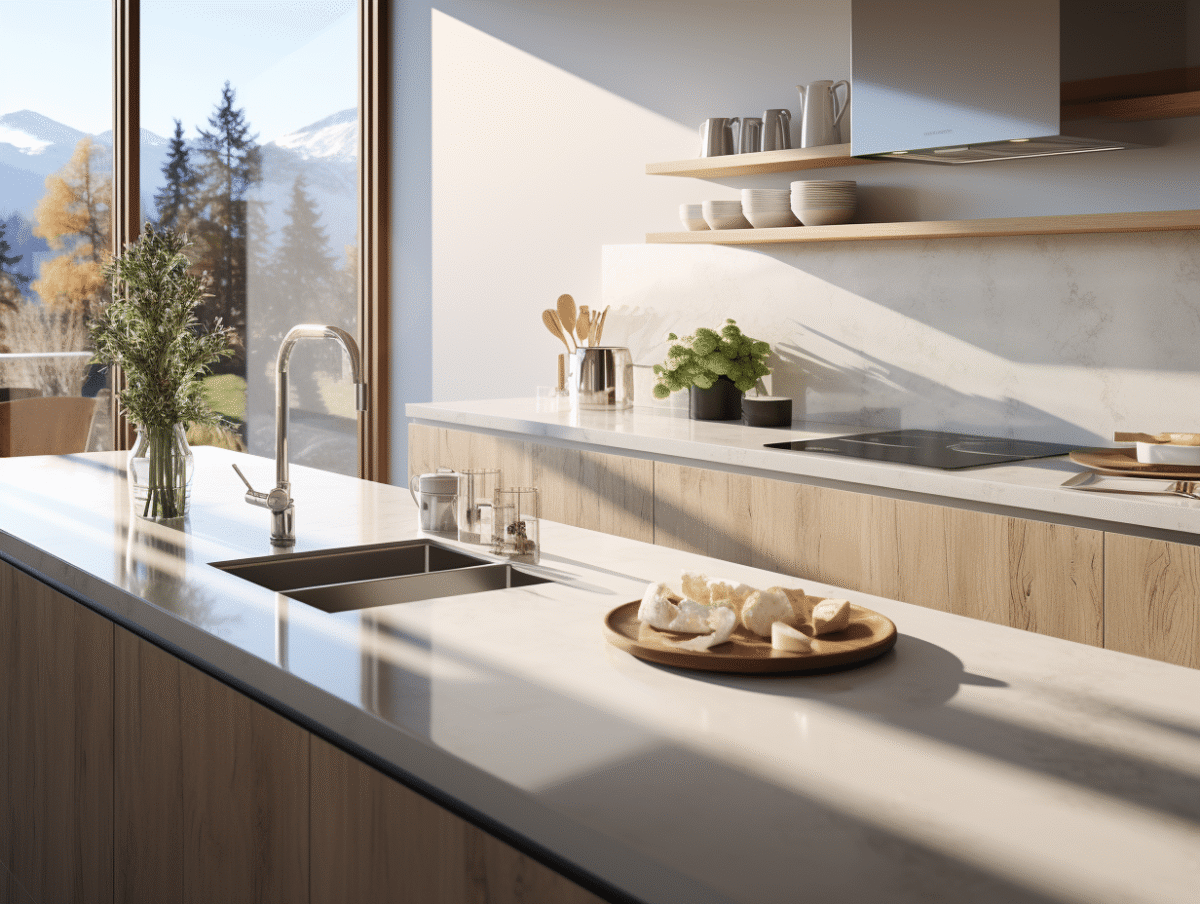
In the current era of DIY and home improvement, installing a floating countertop is a trendy choice that combines functionality with modern aesthetics. These sleek surfaces appear to float, adding a touch of minimalism and space to any kitchen or workshop. For DIY enthusiasts or homeowners looking to refresh their interiors, mastering the installation process is essential. This involves careful preparation of the space, choosing the right materials, securing the appropriate fasteners, and precisely aligning the countertop to ensure both its visual appeal and functionality.
Preliminary Steps for Installing a Floating Countertop
Before diving into the heart of the matter, aimed at professionals and seasoned DIYers, establish a clear action plan. Choosing the right wall is fundamental: it must be able to support the weight of the countertop and the loads that will be applied. Use a stud finder to identify solid areas where anchoring will be possible and avoid any risk of workplace accidents.
Next, take precise measurements of the available space in your kitchen to determine the ideal dimensions of the countertop. A level will allow you to mark the fastening points horizontally, ensuring the perfect alignment of your installation. Rigor in this step is crucial for the final aesthetic and ergonomics of your workspace.
tips for securing a countertop: Opt for robust fastening materials such as battens, brackets, screws, and plugs suitable for the nature of your wall. The battens serve as the main support by being fixed to the wall, while the brackets provide additional reinforcement under the countertop. Ensure that your screws and plugs are designed for the weight and type of material you plan to install. For a flawless finish and lasting hold, neoprene glue can be used in addition to mechanical fasteners. Apply a silicone sealant between the wall and the countertop to prevent any moisture infiltration. These adhesives are specially designed for use in demanding environments, such as kitchens, and ensure perfect sealing. A kitchen designer or professional carpenter can always be consulted for additional information or for an installation guaranteed by an expert.

Step-by-Step Guide for Installing the Floating Countertop
To make your countertop the centerpiece of your kitchen, follow these steps methodically. Start by positioning and securely fastening the battens to the wall, using appropriate screws and plugs. These wooden pieces will serve as the main support for the countertop. Ensure their perfect alignment using a level to prepare a stable and horizontal base.
Next, prepare the countertop itself. Depending on whether it is made of solid wood, laminate, or another material, the cutting process will vary. Measure accurately and cut the countertop using the appropriate tools to ensure a perfect fit. The countertop must be adjusted not only to the size of the available space but also to any irregularities in the wall.
Once the structure is secured and the countertop is cut, proceed to install it on the battens. If necessary, reinforce the fastening with brackets that will provide additional support and better weight distribution. The strength and safety of the whole depend on this fundamental step. Screw firmly to ensure optimal hold over time.
To guarantee the watertightness and durability of your installation, apply a silicone sealant between the wall and the countertop. This precaution will prevent water and moisture from infiltrating, thus preventing damage and mold. Consider hiring a qualified kitchen designer or carpenter for complex work or for a professional finish.